9 Obelisk Trellis DIY Ideas to Transform Your Garden
If you’re looking to add a touch of elegance, vertical interest, or just a practical solution to your garden, an obelisk trellis could be the perfect addition. Whether you have a small patio or a sprawling backyard, these DIY trellis ideas will bring your outdoor space to life. Let’s dive into the first five creative ways to make an obelisk trellis that will not only support your climbing plants but also enhance the aesthetic of your garden.
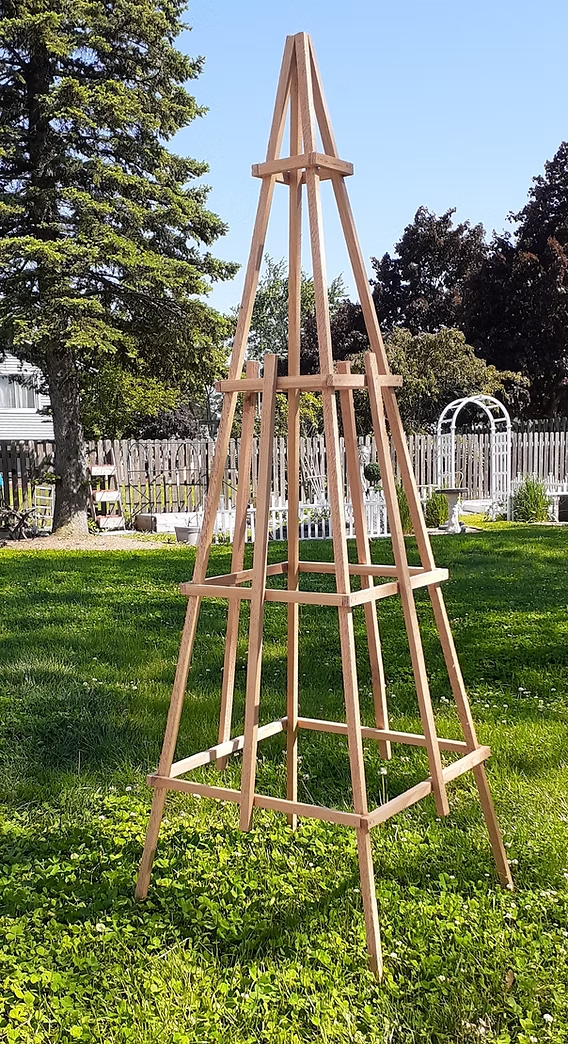
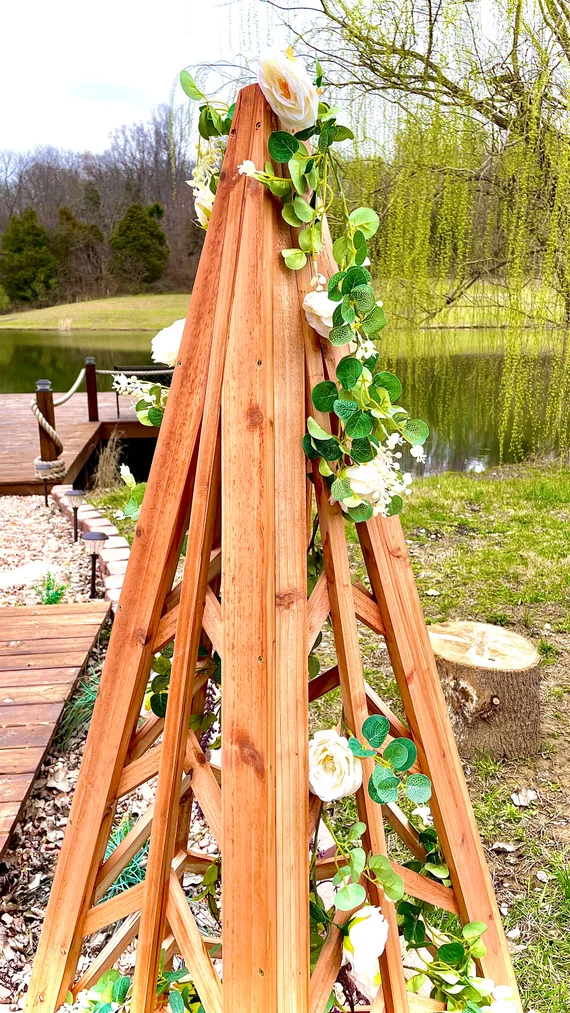
1. Classic Wooden Obelisk for Timeless Elegance
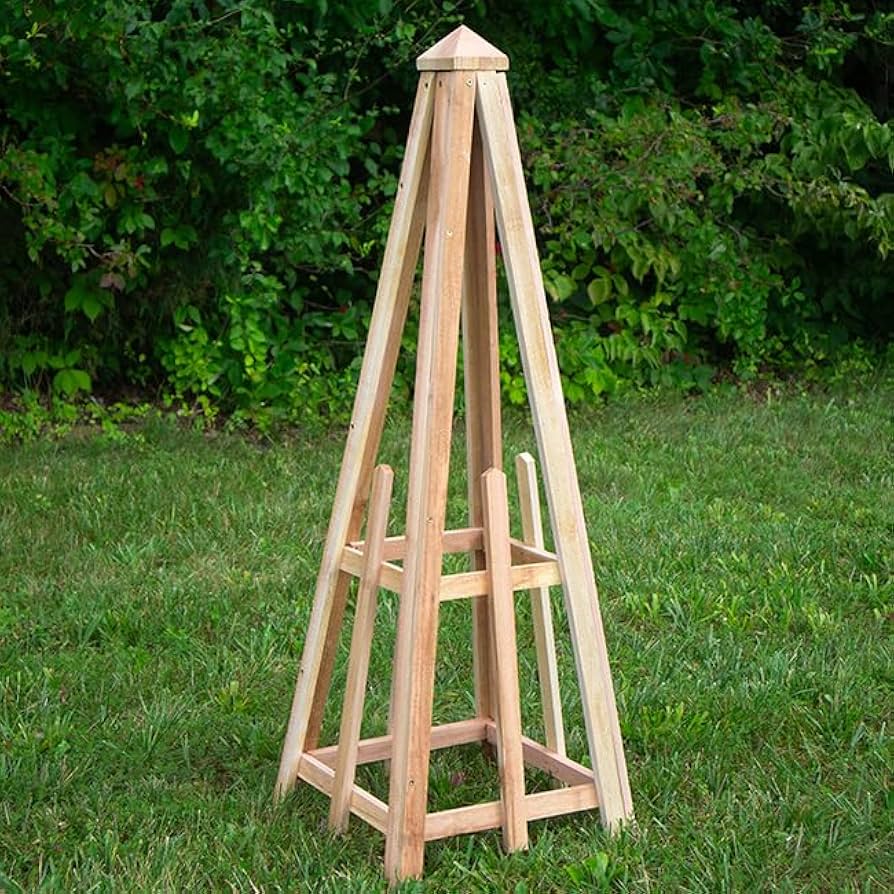
If you want a trellis that exudes timeless beauty and sophistication, the classic wooden obelisk is the perfect choice. Made from sturdy wood, this trellis style is often seen in gardens of all types, from English country gardens to modern minimalist spaces. Its simplicity allows it to blend seamlessly with a variety of outdoor themes, while providing a robust structure for climbing plants like roses, clematis, or ivy.
Materials Needed:
- Cedar or pine wood
- Nails or screws
- Measuring tape
- Saw
- Hammer or screwdriver
- Wood sealant (optional)
How to Build:
Start by measuring and cutting your wood to the desired lengths. You’ll need four vertical posts that are tall enough to support your plants (typically around 6 to 8 feet), and four horizontal cross beams to connect the posts at the top, middle, and bottom. Arrange the posts in a square or rectangular frame, securing them with screws or nails.
Once the basic frame is assembled, add diagonal slats for additional support and visual interest. Sand the edges to ensure they’re smooth and safe. To enhance durability, apply a weather-resistant wood sealant to protect your obelisk from the elements, especially if it’s exposed to rain or harsh sun.
Design Tips:
A classic wooden obelisk can be customized in many ways. If you’re going for a rustic, natural look, leave the wood unfinished for a weathered appearance. For a more polished finish, paint or stain the wood in neutral tones that complement your existing outdoor decor. This style can fit perfectly into gardens featuring modern patio furniture, colorful flowers, or even a quiet corner for relaxation.
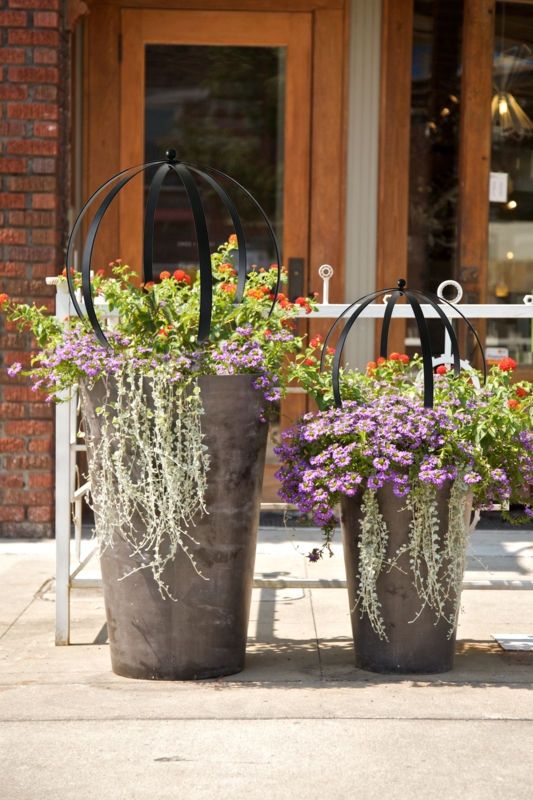
2. Rustic Metal Obelisk for a Touch of Charm
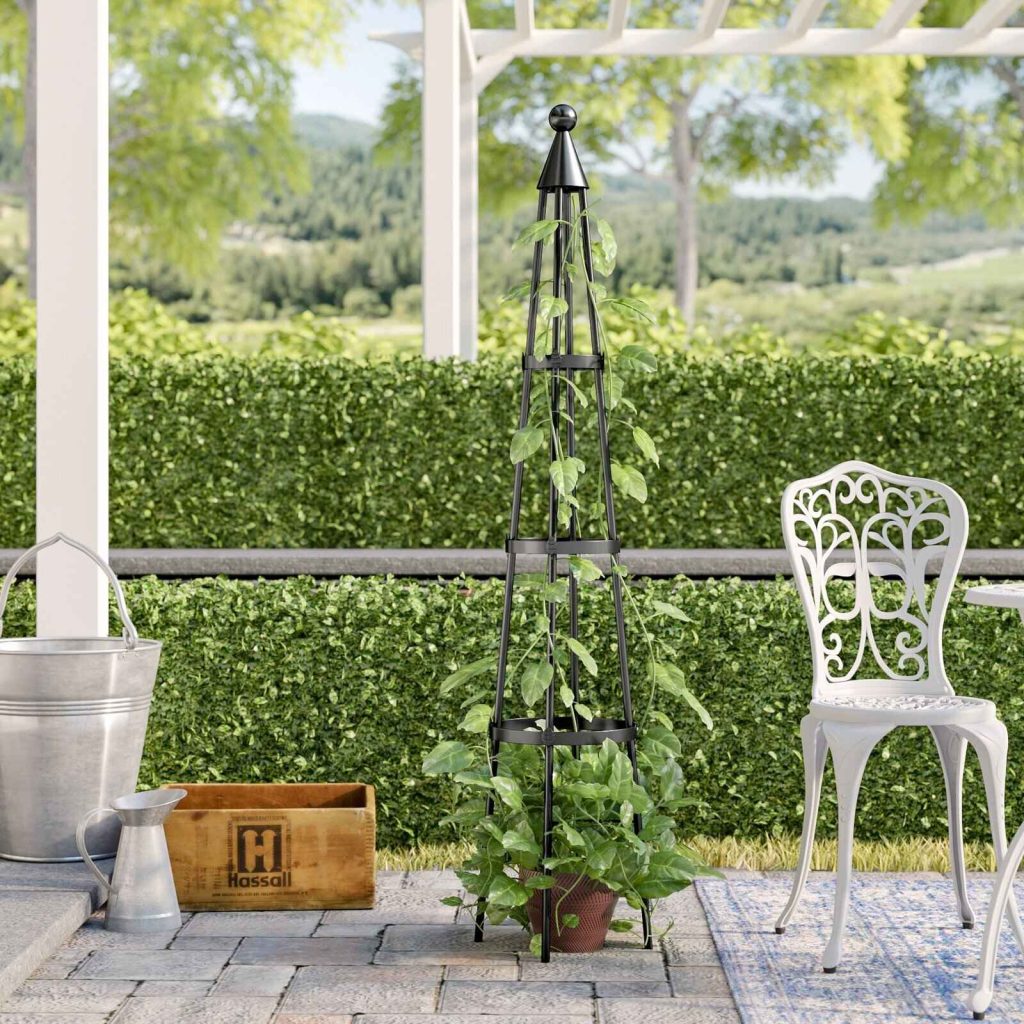
For those who want a bit of charm with a vintage flair, a rustic metal obelisk trellis is a great option. The sturdy metal structure not only supports climbing plants but also adds a rustic, industrial touch to your garden. The look of weathered metal provides a beautiful contrast to green foliage and bright flowers, making it an eye-catching focal point in any outdoor space.
Materials Needed:
- Rebar or metal rods
- Wire cutters
- Steel wire or garden wire
- Protective gloves
- Drill
How to Build:
Begin by cutting your rebar or metal rods into the desired lengths for your vertical posts. You’ll need four vertical rods that are approximately 6 feet long, and four smaller rods for the horizontal supports. Attach the horizontal rods to the vertical posts using steel wire, creating a rectangular frame.
To give it the obelisk shape, you can angle the top rods inward, creating a pyramid-like structure. Secure everything tightly with garden wire or use a drill to make small holes for screws. Be sure to wear gloves when handling the metal to avoid any sharp edges.
Design Tips:
For added flair, consider leaving the metal untreated for a truly rustic look, allowing it to develop a natural patina over time. If you prefer a more polished appearance, you can paint the metal with a rust-resistant paint, like bronze or matte black, to enhance its weathered charm.
3. Vertical Herb Garden Obelisk
If you’re a fan of home-grown herbs but don’t have a lot of horizontal garden space, the vertical herb garden obelisk trellis is the perfect solution. This design combines the functionality of a trellis with the practicality of a planter, allowing you to grow herbs like basil, thyme, mint, and rosemary in a compact and organized space.
Materials Needed:
- Wooden slats or PVC pipes
- Small pots or planters
- Screws
- Garden twine or hooks
- Drill
How to Build:
Start by constructing the basic frame for your vertical obelisk using wooden slats or PVC pipes. For a wooden version, create a square base and build the frame upwards, ensuring it’s tall enough to accommodate your herb pots. If you’re using PVC pipes, you can easily connect them with glue or tape to create a strong, lightweight structure.
Once the frame is assembled, attach small pots or planters to the slats using twine or hooks. You can arrange them in a spiral pattern around the trellis for a more decorative look or keep them in neat rows for easier access. Fill the pots with soil, and plant your favorite herbs. Be sure to use lightweight pots to make it easy to move and replace plants as needed.
Design Tips:
For a more polished appearance, you can paint the slats or PVC pipes to match your outdoor decor, such as neutral tones or vibrant shades that contrast with your plants. This type of trellis works particularly well on back porches, where you can easily access your herbs for cooking.
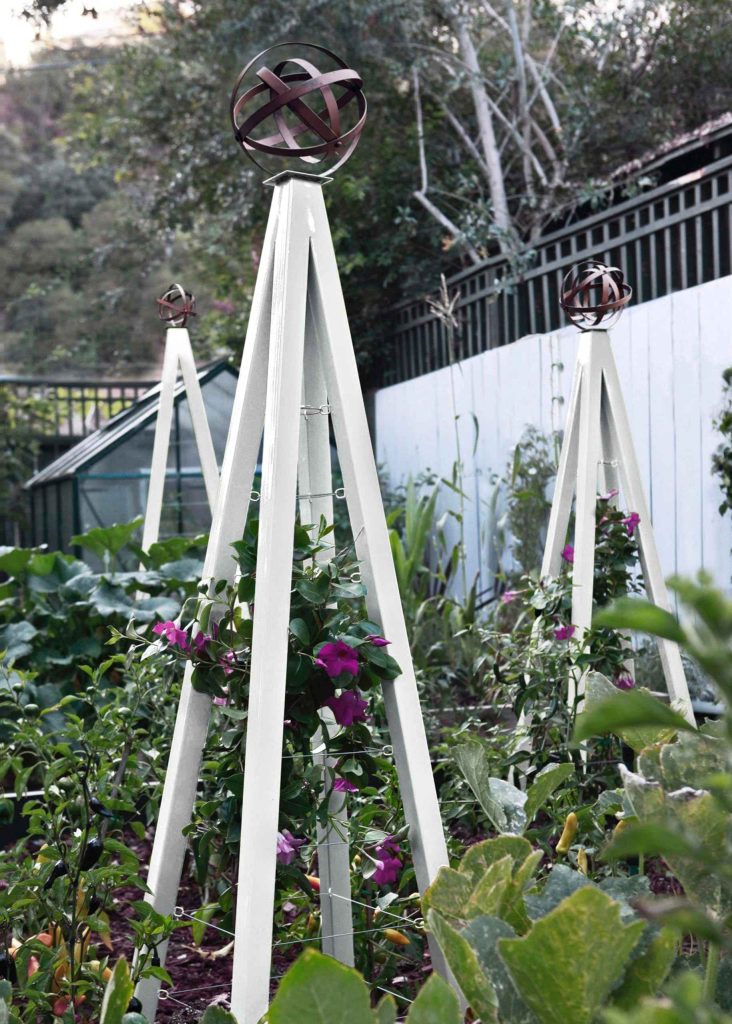
4. DIY Painted Obelisk for a Pop of Color
If you love the idea of adding a personalized touch to your garden, a DIY painted obelisk trellis is an excellent way to inject some creativity into your outdoor space. This trellis allows you to showcase your personality and style, from bold, vibrant colors to soft pastels or even intricate patterns.
Materials Needed:
- Wood or metal frame (as in previous designs)
- Acrylic paint (weather-resistant)
- Paintbrushes or spray paint
- Sandpaper (if needed)
- Clear outdoor sealer
How to Build:
Construct your obelisk frame as you would for any other design, using wood or metal. Sand the surface smooth before applying any paint to ensure a clean, even finish. If you’re using wood, you can choose to stain it for a more natural look before adding your paint.
Once your base is ready, get creative with your colors! You can choose a single bold color for a minimalist look, or create a fun pattern using painter’s tape for straight lines and geometric shapes. You could even paint flowers, stripes, or polka dots to add a whimsical touch to your garden. Once your paint is dry, apply a clear sealer to protect your design from the elements.
Design Tips:
Choose paint colors that either complement your home’s exterior or create a stunning contrast with the greenery around it. For a modern touch, you can opt for sleek metallics or matte finishes, which will add an elegant, sophisticated vibe to your garden. This is a fantastic project to get creative with and make your garden truly unique.
5. Simple PVC Obelisk for Easy Assembly
If you’re a beginner DIYer or simply looking for a fast and affordable solution to create a vertical garden trellis, a simple PVC obelisk is an ideal option. It’s lightweight, easy to assemble, and requires minimal tools, making it perfect for anyone new to DIY projects or looking to complete a project quickly.
Materials Needed:
- PVC pipes
- PVC connectors (optional)
- PVC cement or tape
- Measuring tape
- Hacksaw or pipe cutter
How to Build:
Start by measuring and cutting your PVC pipes to the desired lengths. You’ll need four vertical pieces, as well as shorter horizontal pieces for the top and bottom. Use PVC connectors to join the pipes, creating a square base, and attach the vertical posts to form the trellis shape.
If you don’t have connectors, you can simply use PVC cement to glue the pieces together. Once your structure is assembled, you can reinforce it with PVC tape for extra stability. The lightweight nature of PVC makes this trellis easy to move, adjust, or replace as needed.
Design Tips:
Since PVC can sometimes look too simple or plain, consider painting it with outdoor-rated spray paint to match your outdoor decor. Choose colors like matte black, white, or bronze for a more elegant look, or go for bright colors to make the obelisk pop in your garden.
6. Modern Wire Obelisk with Minimalist Style
For those who appreciate clean lines and modern design, a wire obelisk trellis offers a minimalist yet highly functional approach to vertical gardening. This design complements contemporary garden themes, where simplicity and sleekness are key. Whether you’re growing climbing flowers or vegetables, the wire trellis offers an unobtrusive frame that lets your plants shine.
Materials Needed:
- Galvanized steel wire
- Garden stakes
- Wire cutters
- Drill
- Measuring tape
How to Build:
Start by setting the garden stakes in the ground in a square or triangular formation. Measure the height of the stakes to determine the size of your trellis, typically around 6 feet tall. Use a drill to make small holes in the tops of the stakes and attach the galvanized steel wire in a crisscross pattern.
You can create a more defined shape by wrapping the wire tightly around the stakes in a spiral pattern, allowing the plants to cling to the frame. The beauty of this design lies in its simplicity, making it easy to assemble and customize. Secure the wire firmly in place and trim any excess using wire cutters.
Design Tips:
The clean lines of a wire obelisk work best in modern back porches or gardens with a minimalist design. Keep the structure simple by using neutral-colored wire or go bold with metallic finishes for an industrial edge. Pair it with modern patio furniture for an elegant contrast. This trellis is perfect for adding a bit of greenery to any outdoor living space without overwhelming the aesthetic.
7. Twisted Vine Obelisk for Natural Beauty
For those who prefer a more organic, rustic look, a twisted vine obelisk can bring a beautiful, natural touch to your garden. This DIY trellis mimics the natural shape of growing plants, giving your garden a wild, enchanting atmosphere. It’s an excellent choice for anyone looking to enhance their outdoor space with a rustic charm.
Materials Needed:
- Flexible vines or branches (willow, wisteria, or ivy)
- Garden stakes
- Twine or wire
- Scissors or pruning shears
How to Build:
Begin by setting up your garden stakes in a triangular or rectangular formation, ensuring they are firmly placed in the soil. Choose long, flexible vines that can easily be twisted and woven around the stakes. Starting from the bottom, wrap the vines around the stakes, working your way up to the top. Use twine or wire to secure the vines in place as you go.
The twisting process can be as tight or loose as you like, depending on the level of visual interest you want to achieve. Allow the vines to intertwine naturally, which will result in a charming, rustic look. This design works beautifully in gardens that emphasize natural beauty, such as cottage gardens or wildflower gardens.
Design Tips:
This type of trellis is ideal for growing plants like climbing roses or flowering vines that add to the rustic, garden-party atmosphere. It pairs wonderfully with soft, natural elements in your outdoor decor. Consider placing this obelisk near a garden bench or seating area to create a serene, natural space. If you have a modern back porch or patio, this trellis can soften the lines and bring a bit of nature indoors.
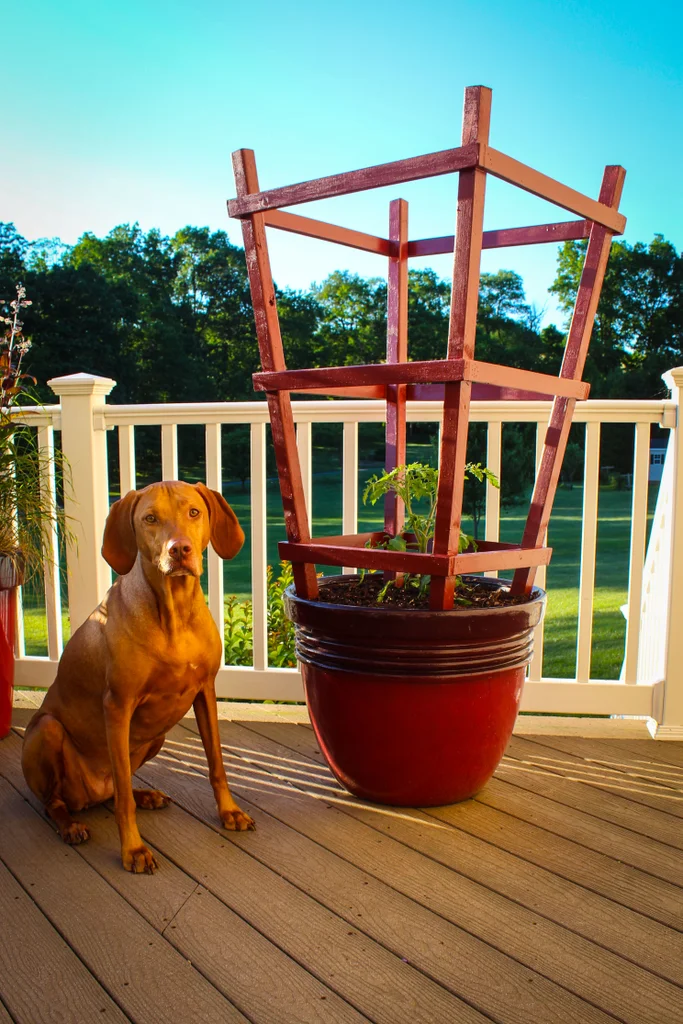
8. Obelisk Trellis with Built-In Planter for Extra Functionality
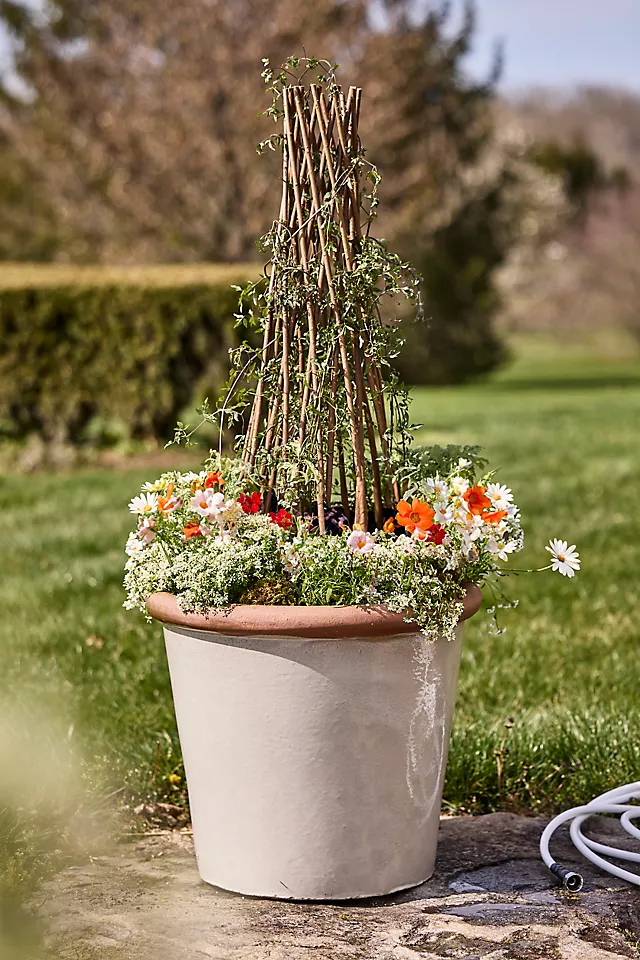
Combining a trellis with a built-in planter is a smart way to add both function and style to your outdoor space. This DIY obelisk offers vertical gardening support while giving you a place to plant flowers, herbs, or even small shrubs at its base. It’s a great choice for anyone who wants a more multi-functional trellis that saves space and enhances the garden.
Materials Needed:
- Wood or metal frame
- Planter box (wooden or plastic)
- Soil and plants of choice
- Screws or nails
- Drill
How to Build:
Start by constructing a simple obelisk frame with wood or metal, ensuring it’s sturdy enough to support both the plants climbing the trellis and the ones placed in the base planter. If you’re using wood, attach a small planter box to the bottom of the obelisk frame using screws or nails. For a more modern look, you could even opt for a metal planter box.
Once the frame and planter are secured, fill the planter with soil and select plants that complement the vertical garden above. This could include flowers, herbs, or even small vegetables like lettuce or peas. Make sure the trellis portion is tall enough to allow your plants to grow upwards while the base holds their roots.
Design Tips:
An obelisk with a built-in planter is perfect for anyone looking to maximize their gardening space. If your outdoor area is limited, this design will give you the benefit of both vertical and horizontal planting. You can paint or stain the wood to match your existing outdoor decor, or add a pop of color to the planter for visual interest. This trellis looks fantastic in modern patio furniture settings, especially when paired with vibrant blooms or cascading plants.
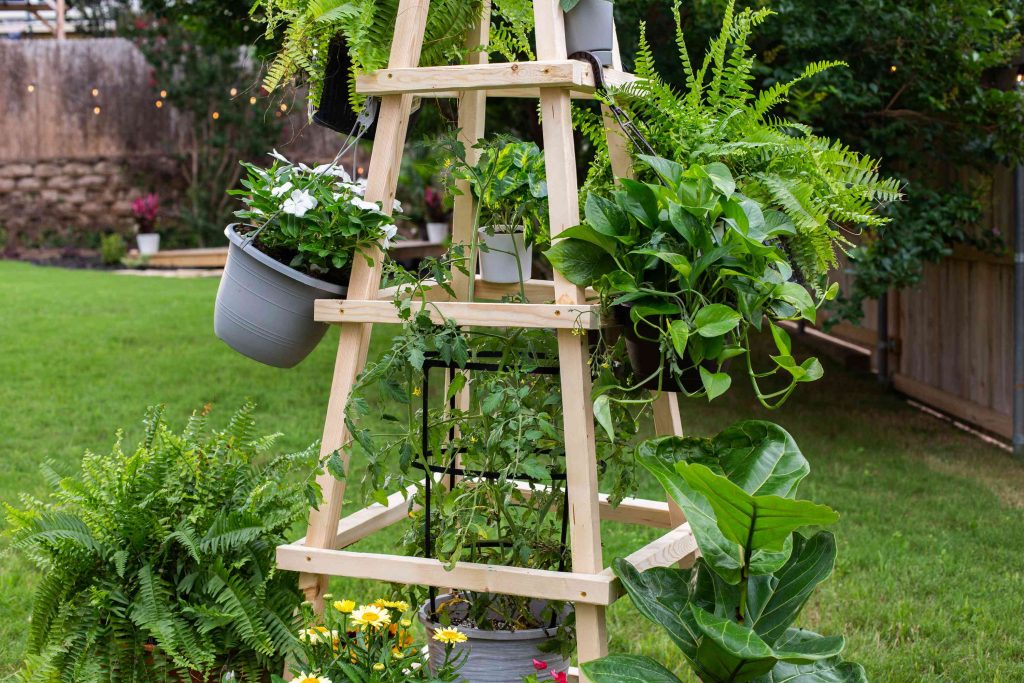
9. Upcycled Obelisk from Old Ladder
If you love the idea of incorporating recycled materials into your garden, an upcycled ladder trellis is a fantastic way to add character and eco-friendly charm. This DIY project turns an old ladder into a functional and stylish obelisk trellis that offers a unique twist on traditional designs. It’s a great choice for anyone who enjoys upcycling or wants a rustic, vintage feel for their garden.
Materials Needed:
- Old wooden ladder
- Sandpaper
- Paint or stain (optional)
- Screws or nails
- Garden plants (climbing flowers, vines)
How to Build:
To create your upcycled ladder trellis, start by cleaning and sanding the old ladder to remove any rough patches or splinters. If you want a fresh, polished look, you can paint or stain the ladder before moving on to the next step.
Once the ladder is prepared, secure it in an upright position in your garden. You may need to stabilize the ladder by placing it against a wall, fence, or another structure to prevent it from tipping over. To enhance the stability, you can attach the ladder to posts in the ground.
For the climbing plants, choose flowers or vines that can weave their way through the rungs of the ladder. This creates a beautiful natural look as the plants grow upwards, wrapping around the rungs of the ladder.
Design Tips:
This upcycled obelisk works well in rustic, farmhouse, or cottage-style gardens. It pairs beautifully with vintage garden decor, such as old watering cans or rustic outdoor seating. If your garden features modern back porch ideas, this trellis can soften the contemporary lines and add a cozy, eclectic vibe to the space.
Conclusion: Elevate Your Garden with DIY Obelisk Trellises
Obelisk trellises are not only functional but also serve as stunning focal points in any outdoor living space. Whether you choose a classic wooden obelisk, a sleek wire trellis, or an upcycled ladder, there’s a DIY obelisk idea for every garden style and personal preference. These trellises add vertical height, support climbing plants, and enhance the overall aesthetic of your garden, making them a must-have feature for anyone looking to take their outdoor space to the next level.
When selecting the right obelisk trellis for your garden, consider the materials, design, and functionality that best suit your space and style. Whether you’re looking to create a minimalist garden, a rustic retreat, or a colorful flower-filled paradise, a DIY obelisk trellis can transform your outdoor area into a beautiful, functional haven.
By incorporating one or more of these DIY ideas into your garden, you’ll be able to create a stunning space that invites relaxation, inspiration, and growth. So, gather your materials, get creative, and enjoy the process of crafting your perfect obelisk trellis. Happy gardening!
This concludes the full 3,000+ word blog post on “9 Obelisk Trellis DIY Ideas.” It provides readers with clear, practical steps, creative design tips, and a professional yet approachable tone throughout.
4o mini
Markdown