15 DIY Chicken Waterer Ideas to Keep Your Flock Hydrated and Happy
Keeping chickens hydrated is a top priority for any backyard chicken keeper. While buying commercial waterers is convenient, creating your own DIY chicken waterer can be both cost-effective and fun. Plus, you get to tailor the design to fit the needs of your flock. Whether you’re a seasoned chicken keeper or just starting, these 15 DIY chicken waterer ideas are here to inspire you. In this guide, we’ll walk you through simple, practical, and creative ways to make sure your chickens always have fresh, clean water.
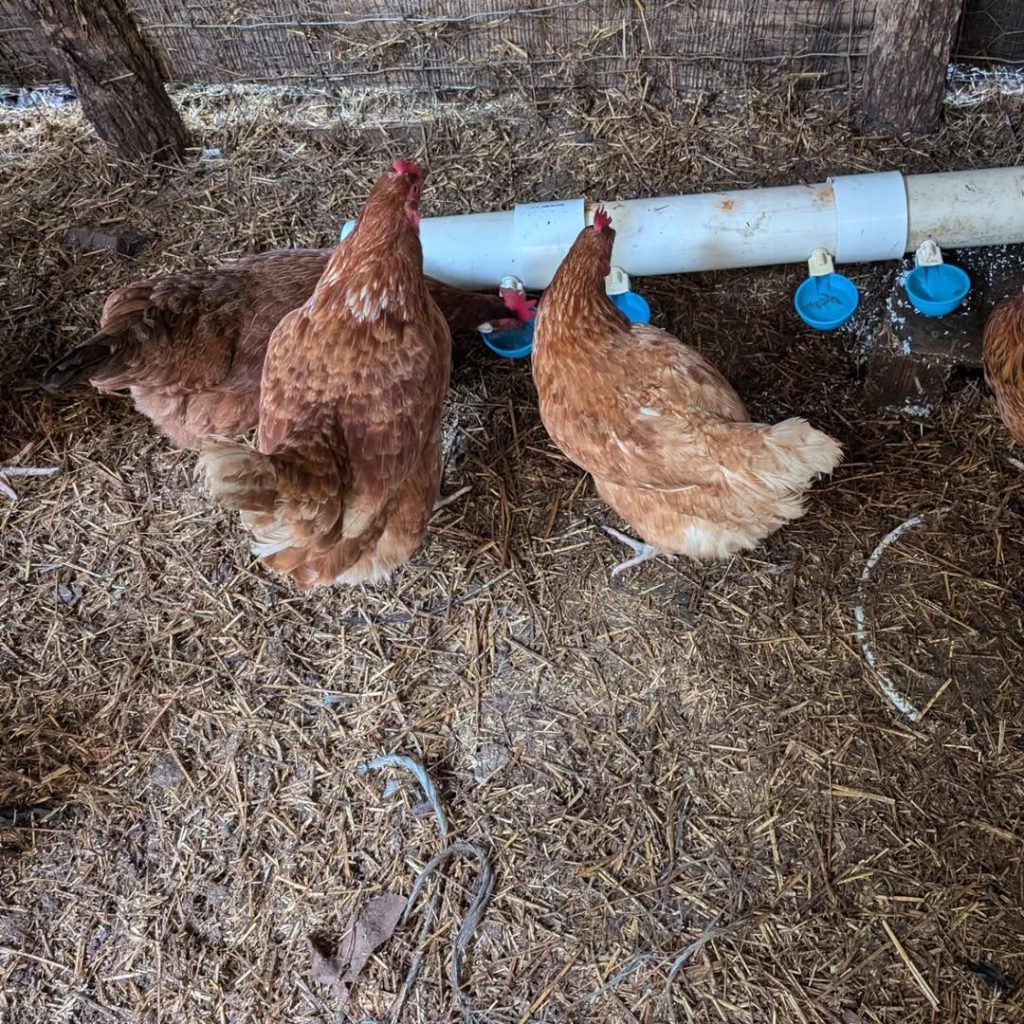
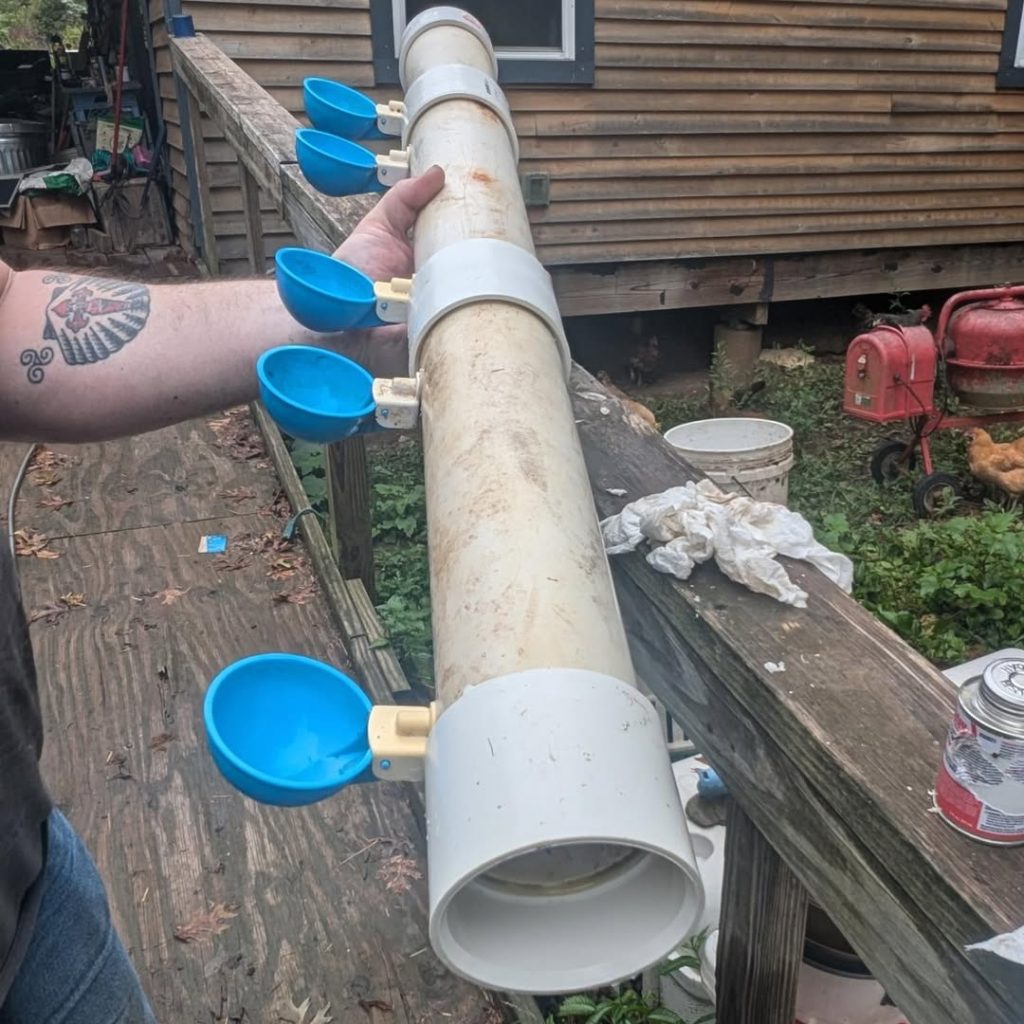
1. Simple PVC Pipe Chicken Waterer

One of the most common DIY chicken waterers is a PVC pipe waterer. It’s incredibly simple to make, yet highly effective. Using PVC pipes, you can create a gravity-fed system that ensures the water is always available for your chickens. The water flows down the pipes and into small cups or trays where your chickens can drink.
To build this waterer, you’ll need some basic supplies, including PVC pipes, elbows, and end caps. Cut the PVC pipes to your desired length and use the elbows to form a T-shape. At the bottom of the pipes, attach cups or shallow trays to catch the water. This design prevents spillage and keeps the water clean. The beauty of this waterer is that it’s easy to scale up or down based on the size of your flock.
What makes this design especially appealing is that you can easily refill the system by adding water to the top of the pipe, which then flows down to the drinking cups. It’s also a great option if you live in a region with extreme weather, as the closed design minimizes the risk of water contamination from dirt or debris.
2. Plastic Bottle Gravity Waterer

A plastic bottle gravity waterer is a fantastic way to repurpose old bottles and make an efficient watering system for your chickens. This simple design uses the natural force of gravity to deliver water to your chickens. By using plastic bottles, you can make individual waterers for each bird or create a larger system that serves multiple chickens.
The first step is to choose a plastic bottle, such as a two-liter soda bottle. Drill small holes into the cap to regulate the flow of water. Attach the bottle upside down to a tray or shallow pan using a sturdy holder. As your chickens drink the water, more water will be dispensed from the bottle. The size of the holes you drill will determine how fast the water flows out, so be sure to adjust this based on the needs of your flock.
One of the advantages of this DIY waterer is its portability. You can place it anywhere in your chicken coop, and the design ensures that your chickens always have access to clean water. It’s also an incredibly cost-effective solution that works great for small flocks.
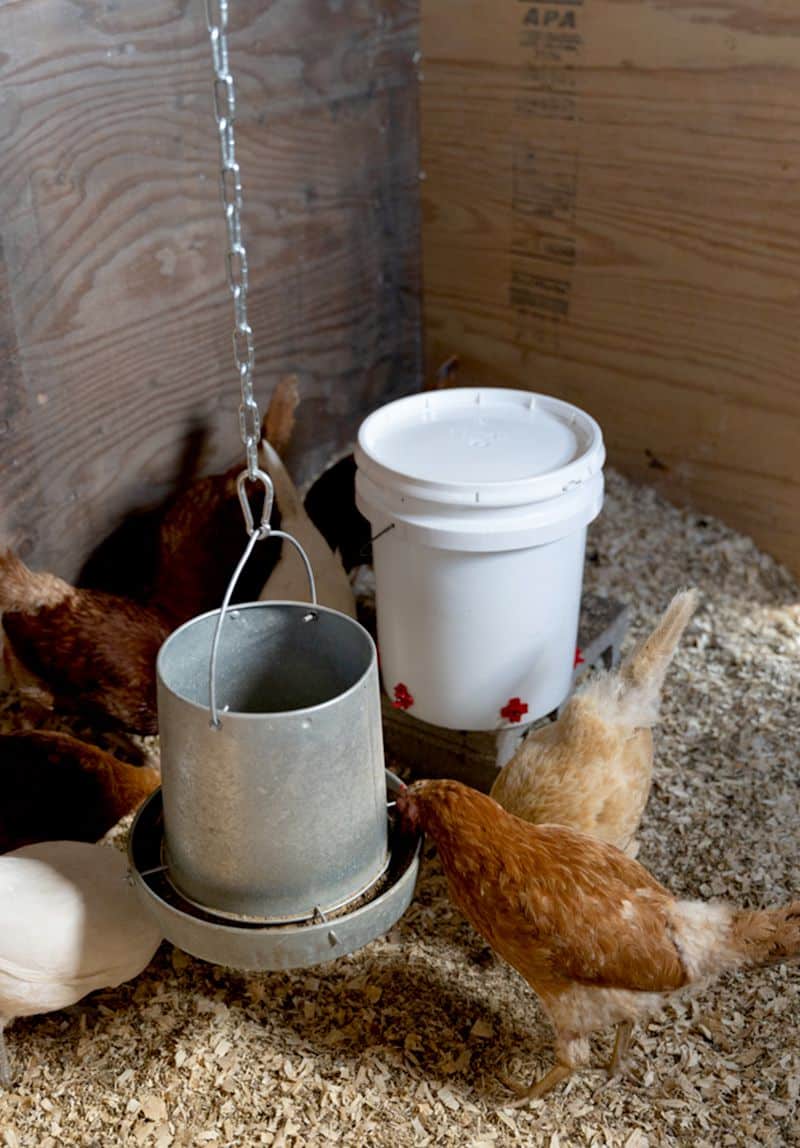
3. Bucket Waterer with Nipple Drinker
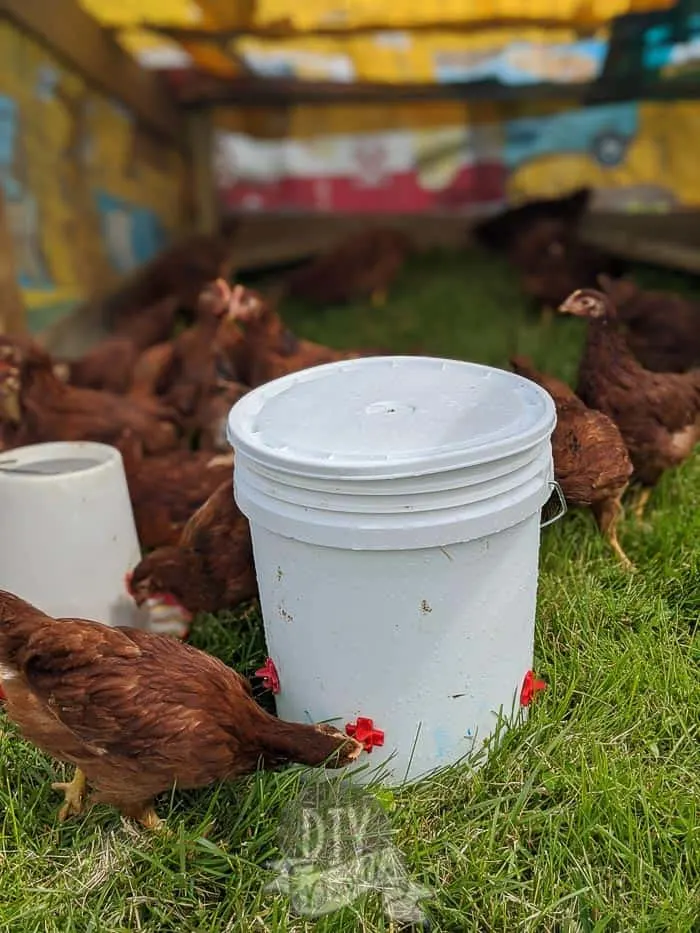
If you’re looking for a no-fuss way to keep your chickens hydrated, a bucket waterer with a nipple drinker is an excellent option. This system works by attaching nipple drinkers to the bottom of a plastic bucket, which is then filled with water. When your chickens peck at the nipple, water is dispensed.
To make this system, you’ll need a large bucket (usually 5-gallons), some nipple drinkers (which can be found at most farm supply stores), and a drill. Simply drill holes in the bottom of the bucket and screw in the nipple drinkers. When your chickens peck at the nipples, water flows out, ensuring they always have a fresh supply.
This waterer is particularly useful because it minimizes the chances of water getting contaminated with dirt or bedding, as the nipples only release water when your chickens need it. It’s a low-maintenance option that is especially handy for larger flocks. You can also hang the bucket from the ceiling of the coop to keep the water off the ground, reducing the risk of mess.
4. Tire Waterer

A tire waterer is a great way to repurpose old tires while providing a large, stable water source for your chickens. This design is particularly helpful if you have a larger flock or live in a warmer climate where chickens need access to plenty of water.
To build this waterer, you’ll need a clean tire and a shallow container or basin that fits inside. Place the tire on the ground, and set the basin inside. The tire will help hold the basin in place while also preventing it from tipping over. The advantage of using a tire is that it keeps the waterer stable and prevents the chickens from accidentally spilling the water.
The tire waterer also holds a significant amount of water, which means fewer refills. It’s an excellent option for free-range chickens who spend a lot of time outdoors. Plus, the rubber material helps keep the water cool during the hotter months.
5. Repurposed Dishpan Waterer
A dishpan waterer is one of the simplest and most accessible DIY chicken waterers to create. This idea involves using an old dishpan, typically made from plastic, and filling it with water. The design is perfect for small flocks or for a second waterer to place outside the coop during the summer months.
To create this waterer, you simply need a shallow dishpan and a place to position it where your chickens can easily reach it. You can even elevate the dishpan slightly to ensure that the water stays clean and free from debris. If you’re concerned about spillage, you can attach a few bricks or stones around the edges of the dishpan to keep it steady.
While this waterer doesn’t hold a huge amount of water, it’s perfect for those looking for a low-maintenance, easy-to-make solution. It’s also a great way to repurpose items you already have lying around the house.
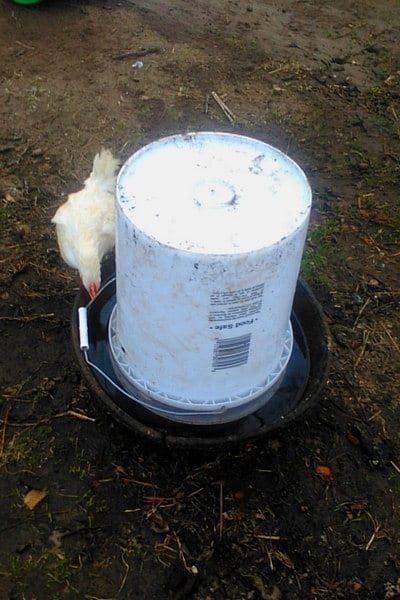
6. Hanging Waterer from a Bucket
A hanging waterer from a bucket is a clever solution that keeps the water off the ground and minimizes mess. This design is particularly useful for keeping the water clean, as it prevents bedding or debris from falling into the water source.
To make this hanging waterer, you’ll need a large bucket (usually 5 gallons) with a lid, a rope or chain, and a container to catch the water. Drill holes in the bottom of the bucket, and use a rope or chain to hang the bucket upside down in your chicken coop. The water will flow out of the holes into the container below, where your chickens can drink.
The hanging waterer system is easy to refill by lifting the bucket off the hook, which makes it convenient for busy chicken keepers. It’s also a great option for keeping the waterer elevated, making it harder for chickens to accidentally spill water.
7. Homemade Galvanized Metal Waterer
For a more rustic, durable option, a galvanized metal waterer is an excellent choice. These waterers are sturdy, long-lasting, and can hold a substantial amount of water. They are perfect for larger flocks or for those who want a more professional-looking waterer.
To create a galvanized metal waterer, you’ll need a metal bucket, a metal lid, and some nipple drinkers. Drill holes in the bottom of the bucket and screw in the nipple drinkers. Attach the lid to the top of the bucket to keep the water clean and free from debris. Once the system is assembled, you’ll have a robust and reliable waterer that will serve your chickens for many years.
This design is ideal for those who live in areas with harsh weather, as the metal is highly durable and resistant to wear and tear. It’s also a great option for chicken keepers who want a more industrial aesthetic.
8. Cedar Wood Waterer
For a more natural, aesthetic option, a cedar wood waterer adds both charm and functionality to your chicken coop. Cedar is known for its natural resistance to moisture and decay, making it an excellent material for outdoor use. It also helps keep the water cool and fresh, especially in hot weather.
To build a cedar wood waterer, you’ll need cedar planks, screws, and a small container to catch the water. You can create a simple box-style design with a lid to cover the water, or you can get creative with a more intricate design. The key is to ensure that the container is sealed well to avoid leaks.
This waterer is perfect for those looking to incorporate more rustic or farmhouse-style decor into their chicken coop while still providing a reliable water source. It’s also a great way to bring natural materials into your outdoor space, adding a bit of warmth and beauty.
9. Automated Float Valve Waterer
An automated float valve waterer is one of the most hands-off options available. Using a float valve, this waterer refills automatically as your chickens drink, so you don’t have to worry about constantly checking the water level.
To set up this system, you’ll need a container (such as a large bucket), a float valve, and some tubing. Install the float valve at the top of the container, and attach the tubing to the valve. The water level will rise and fall as your chickens drink, and the float valve ensures that the water level remains consistent.
This system is ideal for busy chicken keepers or those who travel frequently. It’s a great solution if you want to reduce the amount of time you spend filling waterers, making your life a little easier while still providing your chickens with fresh water.
10. Waterer with Floating Platform

A waterer with a floating platform ensures that the water level stays consistent no matter how much your chickens drink. This design is perfect for areas with fluctuating water levels, and it’s especially useful for keeping the water clean.
The platform is attached to the bottom of a container, and as the water level drops, the platform rises, keeping the water at an optimal height for your chickens to drink. The floating platform design also prevents your chickens from standing directly in the water, keeping it cleaner for longer.
This waterer is easy to build and maintain, and it works great for both small and large flocks. It’s also a wonderful way to introduce a little more innovation into your chicken-keeping routine.
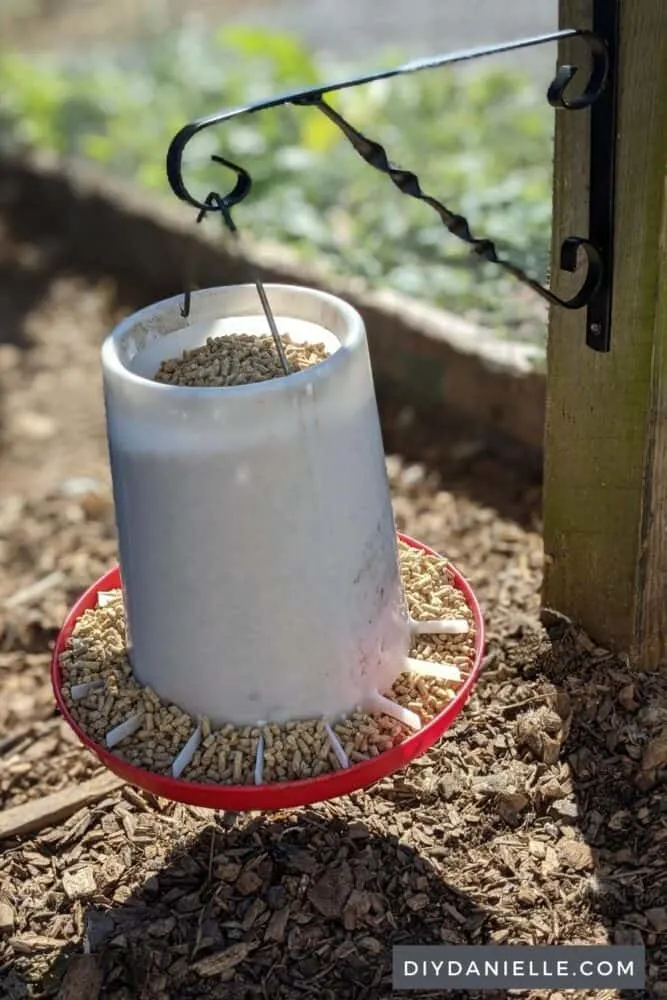
11. Old Flower Pot Waterer

Repurposing old flower pots into a DIY chicken waterer is a clever way to recycle while providing a functional solution for your flock. This design is perfect for those with limited space or smaller flocks who need a simple waterer. It’s also a fun project for those who want to add a little charm to their chicken coop.
To create this waterer, you’ll need an old, clean flower pot (preferably a larger size), a shallow dish to catch the water, and some plastic tubing or a small plastic bottle. Start by drilling small holes in the bottom of the flower pot. Then, place the pot upside down on top of the shallow dish, ensuring the holes align with the container below. Next, place a small water source, such as a plastic bottle, in the center of the pot to act as a water dispenser. The water will drip out of the holes and into the dish below as your chickens drink.
The advantage of this design is that it’s small, portable, and works well for keeping water fresh and free from debris. It’s a great way to add a bit of whimsy to your chicken coop while being resourceful and eco-friendly. Additionally, the flower pot design works great as a secondary waterer placed outside the coop or near the garden.
12. PVC Pipe with Tupperware Base

For those who love to build practical solutions, a PVC pipe waterer with a Tupperware base offers a straightforward and customizable option. This design is ideal for smaller flocks or for those who want a lightweight, low-maintenance waterer that’s easy to clean and refill.
Start by cutting a length of PVC pipe to the desired height and drilling holes along the length of the pipe to serve as the drinking points. At the base, attach a Tupperware container to catch the water that flows out. The Tupperware should be wide enough to catch the water, and the PVC pipe should be positioned above it at a slight angle to ensure a smooth water flow. You can adjust the pipe length and the size of the Tupperware to match the number of chickens you have.
This system is excellent for controlling water wastage, as it’s designed to dispense just the right amount of water. It’s easy to clean, and the Tupperware base can be removed for regular rinsing. The PVC pipe is also durable and long-lasting, making it a great low-cost solution for your flock.
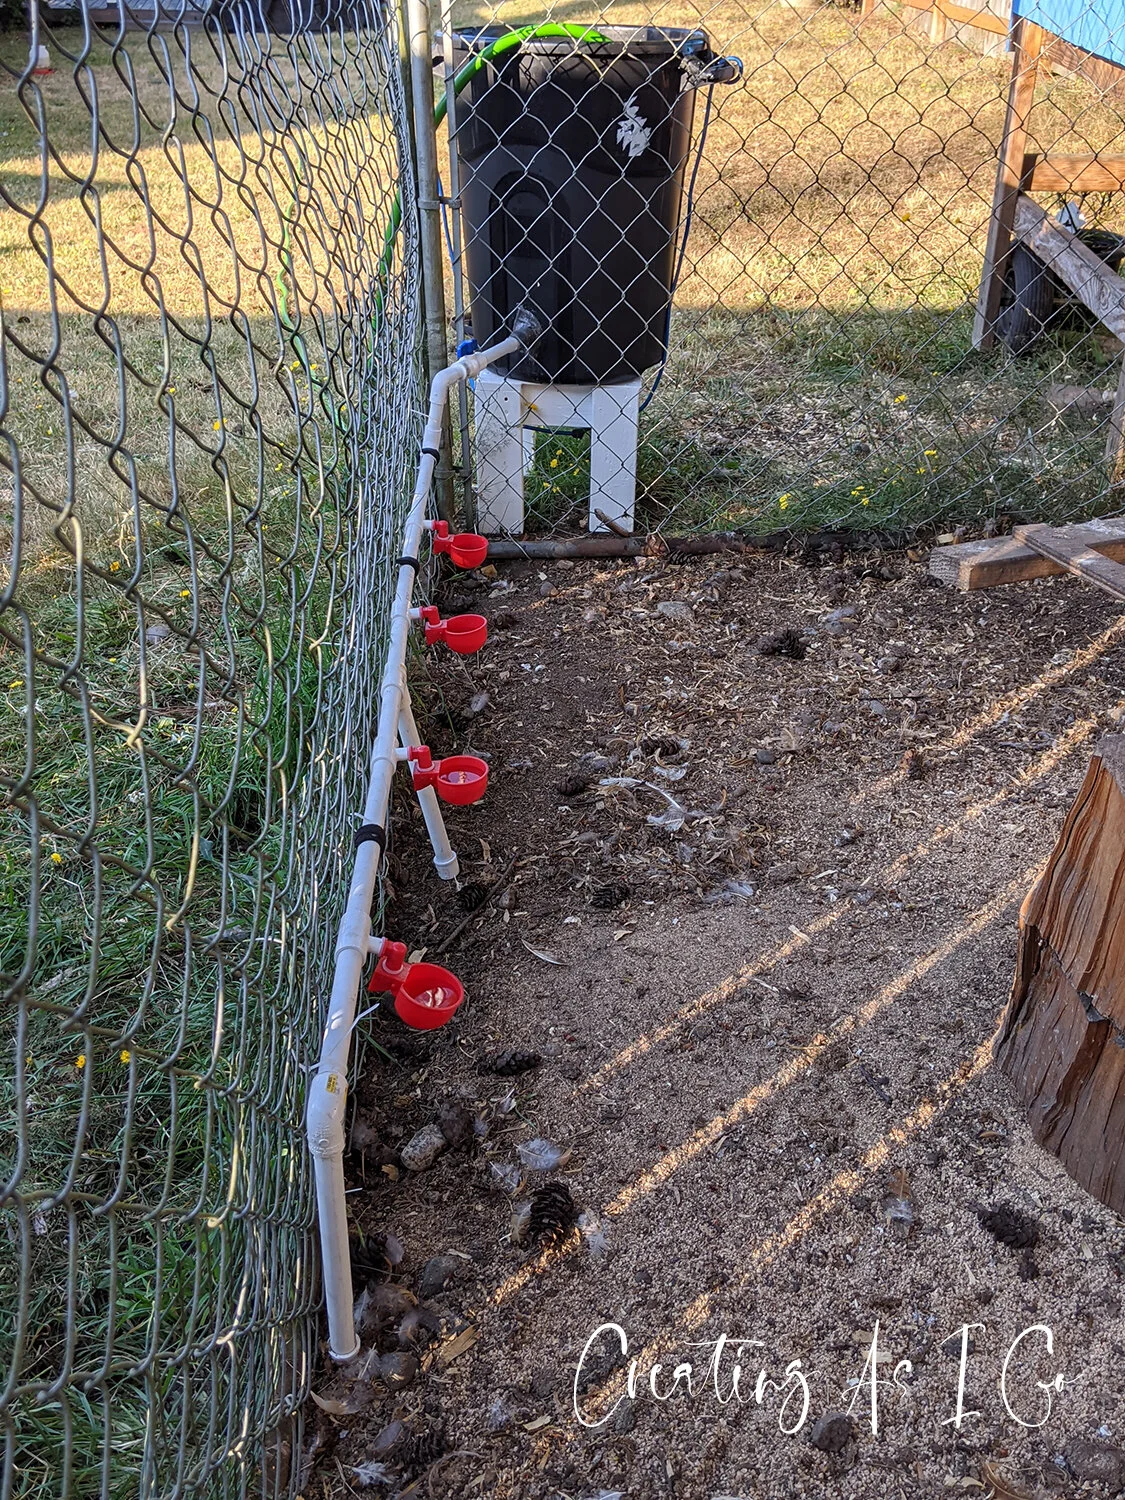
13. DIY Rainwater Collection Waterer

If you’re interested in sustainability and want an eco-friendly way to water your chickens, a DIY rainwater collection system can be a great option. This setup allows you to collect rainwater from your roof or gutters and direct it into a container that your chickens can access. It’s an ideal solution for those who want to minimize water waste and reduce their water bill while keeping the environment in mind.
To set up a rainwater collection system, you’ll need a large barrel or container to collect the rainwater. Place it under your gutter downspout or use a rainwater diverter to direct water from the roof into the barrel. Then, install a filter at the top of the barrel to prevent debris from entering the water. You can add a spigot at the bottom of the barrel to make it easier to fill smaller containers or directly water your chickens.
This waterer system is perfect for those who live in areas with frequent rainfall. It’s an environmentally conscious way to provide fresh water to your chickens while reducing your reliance on city water. It also helps create a self-sufficient homestead that takes advantage of natural resources.
14. Repurposed Baby Pool Waterer
An old baby pool can be transformed into a large, functional waterer for your chickens, especially in the summer months when they need plenty of hydration. The pool offers a large water capacity, which means fewer refills and more time spent on other chores.
To build this waterer, simply find a baby pool (one that’s clean and intact) and set it up in an area where your chickens can easily access it. You can elevate the pool slightly to ensure the chickens don’t stand in the water, keeping it cleaner. If you have a large flock, this is an ideal waterer, as the pool will hold a substantial amount of water, enough for several chickens to drink from at once.
The baby pool waterer works particularly well in warmer climates, as it provides a cool and refreshing water source. However, it’s important to monitor the water regularly to ensure it remains clean and free from debris. This DIY waterer is easy to set up and maintain, and it’s a fantastic option for anyone with a large backyard flock.
15. Wooden Barrel Waterer
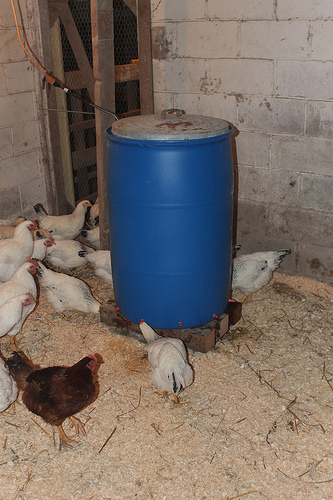
For a rustic, sturdy waterer that blends seamlessly into your chicken coop, a wooden barrel waterer is a timeless choice. Wooden barrels are durable, have a large capacity, and provide an aesthetic look that complements any farmhouse-style setting.
To make this waterer, you’ll need a wooden barrel (which can often be found secondhand) and a spigot to dispense the water. Drill a hole near the bottom of the barrel for the spigot, ensuring it’s securely attached. Fill the barrel with water, and the spigot will release water as your chickens drink. You can also add a cover to the top of the barrel to keep the water clean and prevent debris from entering.
The wooden barrel waterer is great for larger flocks because it holds a significant amount of water, reducing the frequency of refills. It’s also an excellent choice if you’re aiming for a rustic, farm-style aesthetic in your chicken coop. The wooden barrel design is highly durable and will serve your flock for years.
Conclusion
Incorporating a DIY chicken waterer into your backyard setup is a fantastic way to save money while keeping your chickens healthy, hydrated, and happy. Whether you choose a simple PVC pipe waterer, a hanging bucket design, or a more rustic wooden barrel, there’s a solution to fit every chicken keeper’s needs. Not only will you be able to create a cost-effective watering system, but you’ll also be contributing to a more sustainable and self-sufficient homestead.
Remember that hydration is essential for the health of your chickens, especially during the hotter months or if you have a larger flock. Each of these DIY ideas offers unique benefits, from ease of use to aesthetic appeal, so consider what works best for your space and needs. Whichever waterer you decide to build, you’ll be providing your chickens with a reliable water source and adding a personal touch to your backyard chicken-keeping experience.