10 Spring Cleaning Checklist to Refresh Your Home and Your Mind
Spring is the perfect time for a fresh start, both inside your home and out. As the weather warms up and the days grow longer, it’s an ideal opportunity to declutter, deep clean, and refresh your space. Whether you’re tackling it all in one weekend or spreading it out over the course of a few weeks, this comprehensive spring cleaning checklist will guide you through the process. In this first part, we’ll focus on the first five essential tasks to get your home feeling as fresh and vibrant as the new season.
1. Declutter Every Room
Before diving into any deep cleaning, it’s important to declutter every room in your home. Clutter not only makes your space feel chaotic, but it can also prevent you from fully cleaning and organizing. Start with one room at a time, and break the task down into smaller sections if necessary.
Why It’s Important:
Decluttering is the foundation of a successful spring cleaning. By removing items you no longer use, need, or love, you open up space for deeper cleaning and better organization. Plus, it’s much easier to clean and maintain a home that’s free from excess stuff.
How to Get Started:
- Sort through each room: Start by tackling the high-traffic areas, like your living room and kitchen, before moving on to bedrooms and closets. For each area, decide whether the items you have are still necessary or can be donated, sold, or thrown away.
- Create categories: Use boxes or bags to separate your items into categories: keep, donate, sell, or toss. Be honest with yourself about what you really need. Remember, decluttering is about creating space, not just reorganizing.
- Don’t forget hidden areas: Items often accumulate in drawers, under beds, and inside cabinets. Make sure to clear out any areas where clutter can hide, like your junk drawer or the space behind your couch.
Pro Tip: Consider the “one in, one out” rule moving forward. Whenever you buy something new, donate or get rid of something old. It helps maintain a clutter-free home.
2. Deep Clean Your Floors
Floors are the foundation of your home’s cleanliness, yet they can easily be overlooked. Over time, dust, dirt, allergens, and spills can accumulate on floors, affecting both the look and cleanliness of your space. Whether you have hardwood, tile, or carpet, a deep clean is essential for maintaining a fresh and healthy home.
Why It’s Important:
Your floors take a lot of wear and tear from daily foot traffic, pets, and the occasional spill. Deep cleaning your floors not only improves their appearance but also eliminates germs and allergens that may have settled deep within the fibers or crevices.
How to Get Started:
- For hardwood floors: Start by sweeping or vacuuming to remove dirt and debris. Then, use a hardwood floor cleaner that is safe for your specific type of flooring. Avoid using too much water, as it can damage the wood. A microfiber mop works well for picking up dust and leaves a streak-free finish.
- For tile floors: Start by vacuuming or sweeping to remove any loose dirt, then scrub grout lines with a mixture of baking soda and water or a store-bought grout cleaner. For the tiles themselves, use a pH-balanced cleaner that won’t damage the finish. Don’t forget to wipe down baseboards to complete the look.
- For carpeted floors: Vacuum thoroughly, making sure to get into corners and along edges. Consider renting or investing in a carpet cleaner for a deeper clean, especially if you have pets or young children. Use a carpet cleaner that’s safe for your type of carpeting, and pay special attention to high-traffic areas.
Pro Tip: After cleaning, consider applying a floor protector or sealant to extend the life of your floors and make future cleaning easier.
3. Wipe Down Windows and Mirrors
Let’s face it—dirty windows and mirrors can make your home look dull and dingy. As part of your spring cleaning routine, wiping down your windows and mirrors can instantly brighten up a room and improve your home’s overall appearance. Clean windows also let in more natural light, creating a more inviting atmosphere.
Why It’s Important:
Windows and mirrors often accumulate dust, fingerprints, and streaks that aren’t always visible until the sun hits them. Clean, streak-free windows help your home feel lighter and airier, and give your space a refreshed look.
How to Get Started:
- For windows: First, dust the window sills and frames to remove any accumulated dirt. Then, use a glass cleaner or a vinegar-water solution (mix one part vinegar with two parts water) to clean the glass. For best results, clean windows on a cloudy day to prevent streaks. Don’t forget to wipe down both the interior and exterior surfaces of your windows.
- For mirrors: Use a microfiber cloth or a lint-free towel to wipe down mirrors, applying a streak-free glass cleaner or the same vinegar solution. Be sure to clean the edges as well, where dust and grime tend to accumulate.
- High windows or hard-to-reach places: If you have windows that are hard to reach, use a step ladder or an extension duster with a microfiber cloth attached. For exterior windows, consider hiring a professional window cleaning service for those hard-to-reach spots.
Pro Tip: For streak-free results, avoid cleaning windows in direct sunlight, as the heat can cause the cleaning solution to dry too quickly, leaving streaks behind.
4. Sanitize Kitchen Appliances
The kitchen is often the heart of the home, and it deserves special attention when it comes to spring cleaning. Over time, kitchen appliances can accumulate grime, spills, and food particles that affect their performance and cleanliness. Spring cleaning is the perfect opportunity to give your appliances a thorough cleaning and help them run more efficiently.
Why It’s Important:
Kitchen appliances like your refrigerator, oven, microwave, and dishwasher are some of the most used and most overlooked items in your home. Regularly cleaning and sanitizing these appliances can extend their lifespan and prevent unwanted smells or bacteria buildup.
How to Get Started:
- Refrigerator: Start by removing everything from the fridge and giving it a good wipe down with a disinfectant cleaner. Don’t forget the shelves, drawers, and door compartments. Once everything is cleaned, sort through the contents, tossing any expired or old food.
- Oven and stovetop: For the oven, use a store-bought oven cleaner or a DIY solution made from baking soda and water. Allow it to sit for several hours before scrubbing away grease and grime. For stovetops, clean burners, knobs, and the surface using a gentle cleaner that won’t scratch.
- Microwave: Clean your microwave by heating a cup of water and a few slices of lemon in the microwave for about 3 minutes. The steam will loosen any stuck-on food particles, making it easier to wipe down.
- Dishwasher: Clean your dishwasher by running a cycle with a dishwasher cleaner or a cup of white vinegar. This helps eliminate any built-up grime or soap scum that can affect the dishwasher’s performance.
Pro Tip: Regularly check the seals on your refrigerator and oven doors to ensure they’re functioning properly and not leaking, which can cause energy inefficiency.
5. Clean Out the Pantry and Refrigerator
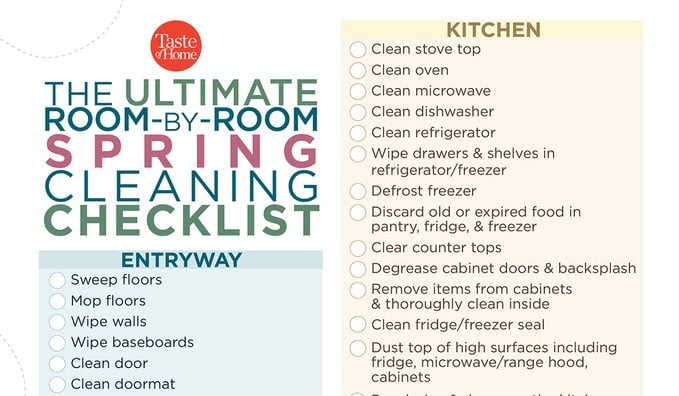
Your pantry and refrigerator are two areas that often go unnoticed during regular cleaning routines. Yet, these spaces are key to maintaining a clean and organized kitchen. Spring cleaning is the perfect time to sort through your pantry, toss expired food, and reorganize everything for easy access.
Why It’s Important:
A cluttered pantry or refrigerator can cause food to spoil faster or lead to an overwhelming mess. By cleaning out your pantry and fridge regularly, you not only keep things fresh but also reduce the risk of food waste.
How to Get Started:
- Pantry: Start by removing everything from your pantry. Check the expiration dates on items like canned goods, dry pasta, and spices. Wipe down the shelves to remove any crumbs or spills, and then replace items in a neat, organized manner. Consider using clear containers or baskets to store bulk items for easy access.
- Refrigerator: Take everything out of the fridge, and wipe down the shelves and drawers with a mild cleaner. Toss any expired or unused items, and reorganize the remaining food. If you have open packages or items that are difficult to store, consider investing in storage bins to keep things neat.
- Freezer: Don’t forget your freezer! Take a few minutes to toss out freezer-burned items and wipe down shelves with a gentle cleaner.
Pro Tip: For a super-organized fridge, consider creating designated zones for different types of food (e.g., fruits, vegetables, dairy) and use bins or trays to group similar items together.
Part 2 will cover the last five tasks in the checklist and wrap up the article with a conclusion to inspire your readers to take action and make their spring cleaning a success!
Let me know if you’d like me to continue with Part 2!
Certainly! Here’s Part 2 of your 3,000+ word article on “10 Spring Cleaning Checklist,” covering the remaining five tasks and concluding with a final motivational message for your readers.
10 Spring Cleaning Checklist to Refresh Your Home and Your Mind (Part 2)
In the first part of our spring cleaning checklist, we focused on the foundational tasks to refresh your home. Now, let’s dive into the final five tasks, ensuring that every area of your home gets the attention it deserves. From scrubbing bathroom tiles to organizing closets, these remaining steps will make your home sparkle and feel rejuvenated. By the end, you’ll be ready to enjoy your fresh, clean space all season long!
6. Freshen Up Your Bedding and Upholstery

Bedding and upholstery are items you use every day, yet they often don’t get the deep cleaning they deserve. Fresh linens and clean furniture not only create a more inviting atmosphere, but they also contribute to better sleep and a healthier living environment. Spring cleaning is the perfect opportunity to refresh these items, making your home feel like a luxurious retreat.
Why It’s Important:
Your bedding and upholstered furniture collect dust, dirt, and even allergens. Regular cleaning helps eliminate these irritants, while also extending the lifespan of your fabrics. Plus, there’s nothing like the feeling of sleeping in fresh sheets or sitting on a spotless couch!
How to Get Started:
- Bedding: Wash all bedding, including sheets, pillowcases, duvet covers, and blankets. Follow the care instructions on the labels, and use an allergen-reducing detergent if necessary. While the bedding is being washed, consider flipping or rotating your mattress to ensure even wear.
- Upholstered Furniture: Vacuum your upholstered furniture using the upholstery attachment on your vacuum. For fabric sofas or chairs, consider using a fabric cleaner to tackle stains. You can also spot clean using a solution of mild dish soap and water. If your furniture has removable cushions, don’t forget to clean both sides.
- Throw Pillows and Blankets: If you use throw pillows or blankets, make sure to wash or spot-clean them regularly. These items can harbor dust, allergens, and even pet hair, so giving them a good clean will keep your space looking fresh and inviting.
Pro Tip: For added freshness, consider using a fabric freshener spray with a light, natural scent like lavender or eucalyptus after cleaning your upholstery.
7. Scrub Your Bathroom Tiles and Grout
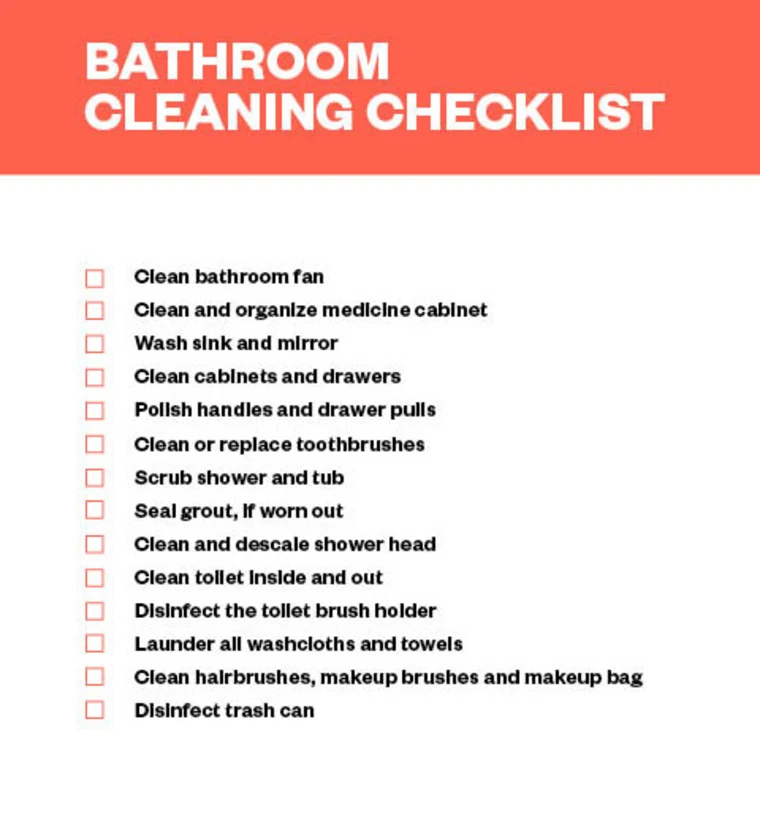
Bathrooms are high-traffic areas in any home, and they can quickly accumulate grime, soap scum, and mildew, especially around the tiles and grout. Spring cleaning is the ideal time to give your bathroom a deep clean, focusing on areas that are often neglected.
Why It’s Important:
Tiles and grout are porous and can trap dirt, germs, and moisture, making them ideal breeding grounds for bacteria and mold. Scrubbing your tiles and grout not only improves the cleanliness and appearance of your bathroom but also helps prevent mold growth and stains.
How to Get Started:
- Tiles: Start by spraying a bathroom-friendly cleaner or a mixture of equal parts water and vinegar onto the tiles. Allow it to sit for a few minutes to loosen up soap scum and grime. Use a soft sponge or cloth to wipe down the tiles and give them a nice shine.
- Grout: Grout can be one of the trickiest areas to clean, but with a little elbow grease, it’s possible to get it looking as good as new. For light grout stains, a paste of baking soda and water can work wonders. Apply the paste, let it sit for a few minutes, and then scrub with a toothbrush to lift the dirt. For tougher stains, a specialized grout cleaner can help.
- Seal Grout: After cleaning, consider applying a grout sealer to protect your grout lines and prevent future staining. This will make it easier to clean next time and keep your bathroom looking fresh.
Pro Tip: Use a squeegee after each shower to minimize water spots and soap scum buildup on tiles, making future cleaning easier.
8. Dust and Clean Light Fixtures
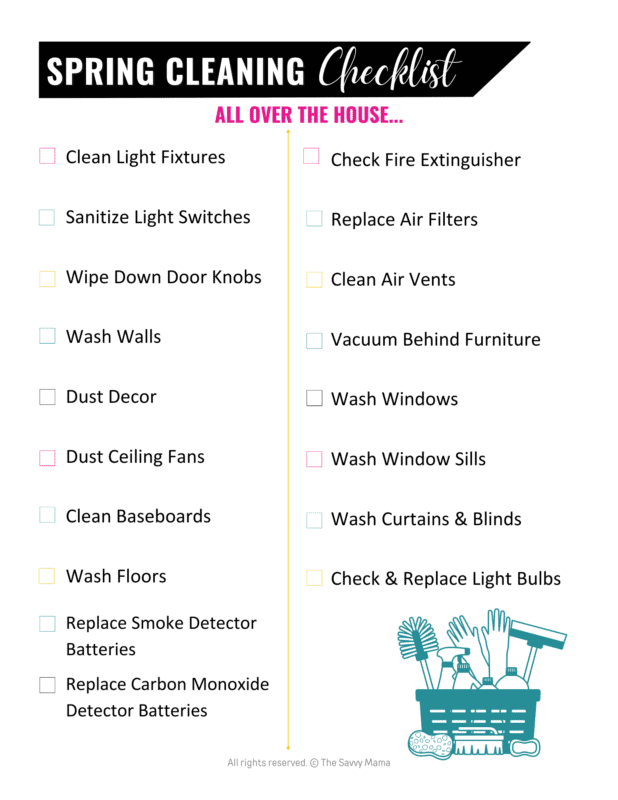
Light fixtures and ceiling fans often accumulate dust, cobwebs, and grime, which can dull their shine and even affect the air quality in your home. Spring cleaning is the perfect time to tackle these high-up surfaces and bring the sparkle back to your lighting.
Why It’s Important:
Dust and dirt can accumulate on light fixtures, reducing their brightness and making your home feel less inviting. Cleaning your light fixtures not only improves the aesthetics of your home but also helps to reduce allergens and improve overall air quality.
How to Get Started:
- Ceiling Fans: Turn off the fan and use a step ladder to safely reach the blades. Use a microfiber cloth or a ceiling fan duster to wipe down each blade, starting from the top and working your way down. For extra cleaning power, attach the cloth to a long-handled broom or mop.
- Light Fixtures: Turn off the power to any light fixtures you’re cleaning. For chandeliers, pendant lights, or ceiling lights, carefully remove the bulbs (if safe to do so) and wipe them down with a microfiber cloth. For glass light fixtures, remove any glass covers and clean them using a gentle glass cleaner or a vinegar-water solution. Dry them with a soft cloth to prevent streaks.
- Lamps and Other Fixtures: Don’t forget to clean smaller lampshades, desk lamps, and other lighting fixtures. Use a soft cloth or a vacuum attachment to remove dust, and wipe the surfaces with a damp cloth as needed.
Pro Tip: If your light fixture has multiple bulbs, replace any burned-out bulbs during your spring cleaning for a more energy-efficient home.
9. Refresh Your Entryway and Hallways
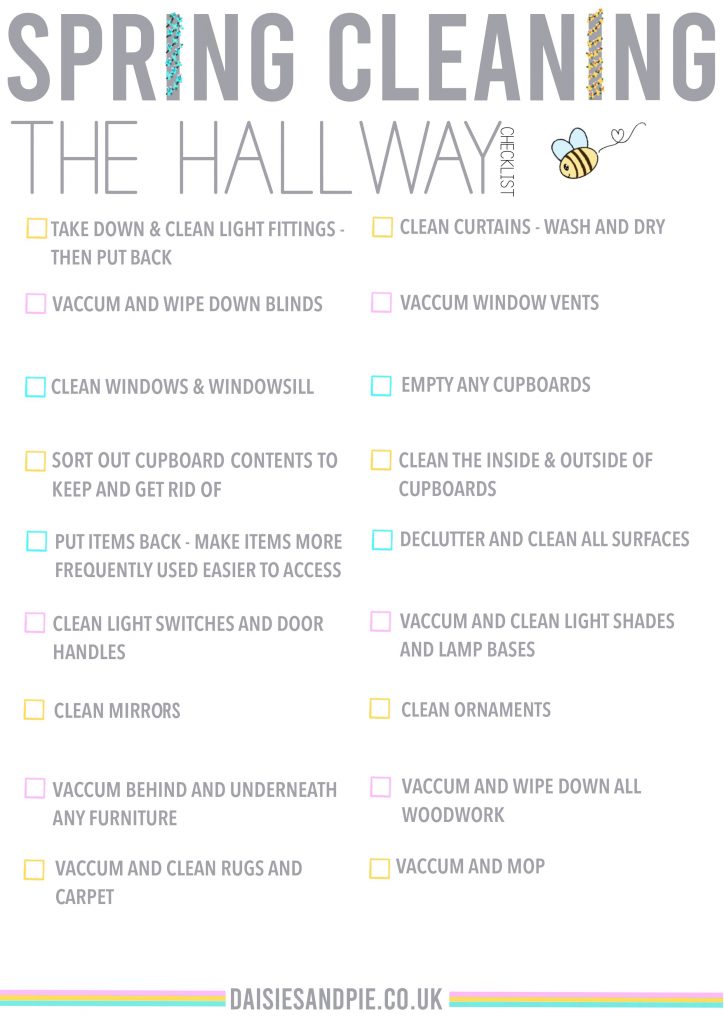
The entryway and hallways are the first impression visitors have of your home, and they often see a lot of traffic. Ensuring these areas are clean, organized, and welcoming is a simple yet impactful step in your spring cleaning process.
Why It’s Important:
A tidy entryway and hallways create a positive first impression and can make your home feel more organized and inviting. These areas tend to accumulate shoes, coats, and bags, making them prime candidates for a spring cleaning overhaul.
How to Get Started:
- Organize Shoes and Coats: Begin by decluttering your entryway. Sort through shoes, jackets, hats, and bags. Donate or discard anything you no longer use. Consider investing in stylish storage solutions, such as a shoe rack, coat hooks, or a bench with hidden storage, to keep things organized.
- Clean High-Touch Areas: Don’t forget to wipe down doorknobs, light switches, and handrails, which can accumulate dirt and germs. Use an all-purpose cleaner or disinfecting wipes to sanitize these high-touch surfaces.
- Area Rugs and Flooring: Sweep or vacuum the floors, and wash any rugs or mats in the entryway. If you have a runner or decorative rug in the hallway, take it outside and shake it out or wash it if needed.
Pro Tip: Add a welcoming touch by placing a vase of fresh flowers or a decorative piece near the entryway to enhance the space.
10. Organize Closets and Storage Spaces
Spring cleaning wouldn’t be complete without tackling your closets and storage areas. These spaces often become catch-alls for items you don’t know where to put, but they can be turned into organized, functional storage solutions with a little effort.
Why It’s Important:
A well-organized closet not only makes it easier to find what you need, but it can also reduce stress and create a more peaceful living environment. Spring cleaning is the perfect opportunity to reassess your storage needs and clear out anything you no longer use.
How to Get Started:
- Sort Through Clothes and Items: Take everything out of your closet or storage space and evaluate what you actually wear or use. Donate or discard items that no longer fit, are out of season, or you simply don’t need.
- Organize by Category: Once you’ve decluttered, organize your closet or storage space by category. Group similar items together (e.g., shoes, sweaters, handbags) and use storage bins, baskets, or hangers to keep everything neat and easily accessible.
- Maximize Space: Consider using storage solutions such as closet organizers, hanging shelves, or under-bed storage to make the most of your space. If you have seasonal items that you don’t use year-round, store them in labeled bins to keep them out of the way until needed.
Pro Tip: To keep your closet organized year-round, consider implementing the “one in, one out” rule. For every new item you bring in, donate or discard something you no longer need.
Conclusion: Embrace the Freshness of Spring Cleaning
By now, you’ve tackled the most important areas of your home with this comprehensive spring cleaning checklist. Whether you’ve completed everything in one go or are spreading it out over time, the benefits of spring cleaning are undeniable. A clean, organized, and refreshed home will not only improve your environment but also boost your mood and productivity.
Remember, spring cleaning isn’t just about making your home sparkle—it’s about creating a space that nurtures your well-being. So take pride in your efforts, and enjoy the fresh, inviting atmosphere that comes with a job well done. Happy cleaning!
With this final section, your readers should feel inspired and equipped to complete their spring cleaning with confidence.